Appearance
Cypress
Cypress is a leading front-end testing framework. Imagine a bot that can replicate a human clicking around and interacting with a digital application, testing that all its features and functions work as expected, as fast as programatically possible - that's Cypress. It allows developers to bulid automated tests to ensure that specific front-end functionality works as expected for end-users.
Helpful resources
- Official Cypress site - The official Cypress site with helpful documentation
- Laracasts Cypress series - Excellent video courses on Cypress and Laravel
How we use Cypress
We use Cypress in our flagship applications to ensure that we can minimise breaking changes when we launch changes. Although we would like complete coverage of an application's functionality it can be extremly time consuming to build and manage cypress tests across an entire application, and often not practical to do so.
We focus Cypress tests on the critcal / core functionality of an app to ensure these are at least covered when we push a new release. An example of this is assessments in the Salt Campus. If assessments were un-usable in the Campus, user's realtime data could be lost or affected. We therefore built a Cypress test to cover core end-user assessment functionality.
High-level Strategy and Technical Background
- Cypress is a functional test runner, so it drives the web app the same way that a user would and checks if the app functions as intended for a user
- Accordingly, tests should be based on user stories
- One test for each user story
- Unless time or other resources do not allow it, the user story should be well thought out, documented, and agreed upon by the relevant stakeholders
- As the tests run sequentially, from one action to the next in a linear manner (as a user would behave), having a documented user story allows the tests to be written in an efficient manner without repeating the same actions multiple times
- See an example documented user story here: Front-end Course Learner Story
- Each item in a user story will correspond to an action (typically an assertion) the test performs
- The Cypress file system
- Test files (e.g.
frontend_assessment_learner_flow_spec.js) are stored in/cypress/integrationdirectory - Supporting files (e.g.
index.js,commands.js) are stored in/cypress/supportdirectory
- Test files (e.g.
- A separate local database specifically for testing should be used so your usual local database is unaffected by testing
- The
laracasts/cypresscomposer package is used to more easily facilitate:- Switching environment files and databases between local and testing
.env.cypressis used to achieve this - it should be a replica of your.envwith the database details changed so your testing database is used
- Access to Laravel-specific commands available to Cypress such as logging in and seeding a database
- Switching environment files and databases between local and testing
- Each Cypress test should seed the testing database with precisely the content the test needs to run
Writing Cypress tests
1. Call high-level describe function
This takes two arguments:
- A string which is the name of the test
- A callback function which contains the body of the test
describe("Frontend Course Learner Flow", () => {
    // Test body
});
2. Call before function to set up environment before test runs
There will be three parts to this:
2.1. Emptying the testing database via `cy.refreshDatabase()`
2.2. Seeding the testing database via `cy.seed()`
2.3. Logging in to the app via Auth0 via `cy.login()`
before(() => {
    // Empty testing database
    cy.refreshDatabase();

    // Seed testing database with content for this test
    cy.seed("CypressFrontendCourseLearnerSeeder");

    // Log in via Auth0
    cy.login();

});
3. Next, call a single it function
This takes two arguments:
- A string which just indicates the user flow is being followed
- A callback function which contains all the assertions to be tested
it("Follows prescribed user story flow", () => {
    // All test assertions
});
At this point your test code will look like this and now just need the relevant assertions to be added:
describe("Frontend Course Learner Flow", () => {
    before(() => {
        // Empty testing database
        cy.refreshDatabase();

        // Seed testing database with content for this test
        cy.seed("CypressFrontendCourseLearnerSeeder");

        // Log in via Auth0
        cy.login();
    });
    it("Follows prescribed user story flow", () => {
        // All test assertions
    });
});
4. Add test assertions
Cypress is built on top of Mocha and Chai, so review that documentation to see what testing commands and assertions are available to you.
NB! Where Cypress need to identify an element in the DOM via the cy.get() command, in order to assert something about that element, ensure that you add a unique data-cy attribute to that element in your front-end template (e.g. .vue file).
Here are some examples of commands and assertions used in our tests:
cy.visit("/courses");- visits /courses URLcy.wait(2000);- pauses test runner for 2 seconds in order for UI to update between commandscy.get("[data-cy=learncoursecardcurrent]").should("be.visible");- checks that the Current Course Card element renders in the DOMcy.get("[data-cy=coursebreadcrumbmycourses]").click();- clicks on the My Courses breadcrumb linkcy.url().should("include", "/course/1/lesson/1");- checks that the current URL includes "/course/1/lesson/1"cy.request("POST", "/assessment/1");- checks that submit form post request is hit
Running Cypress tests (local)
In order to run Cypress tests locally on an application with existing Cypress tests, there are a number of options outlined below. But take note of the following before running a test
NB! When running cypress tests your .env file will be backed up and replaced with .env.cypress temporarily. If you disrupt the test and do not close Cypress, your .env will not be returned to normal state and you will need to do this manually from the .env.backup
Option 1: Open cypress to run tests (recommended)
To open cypress run
npx cypress open
This will open the Cypress window

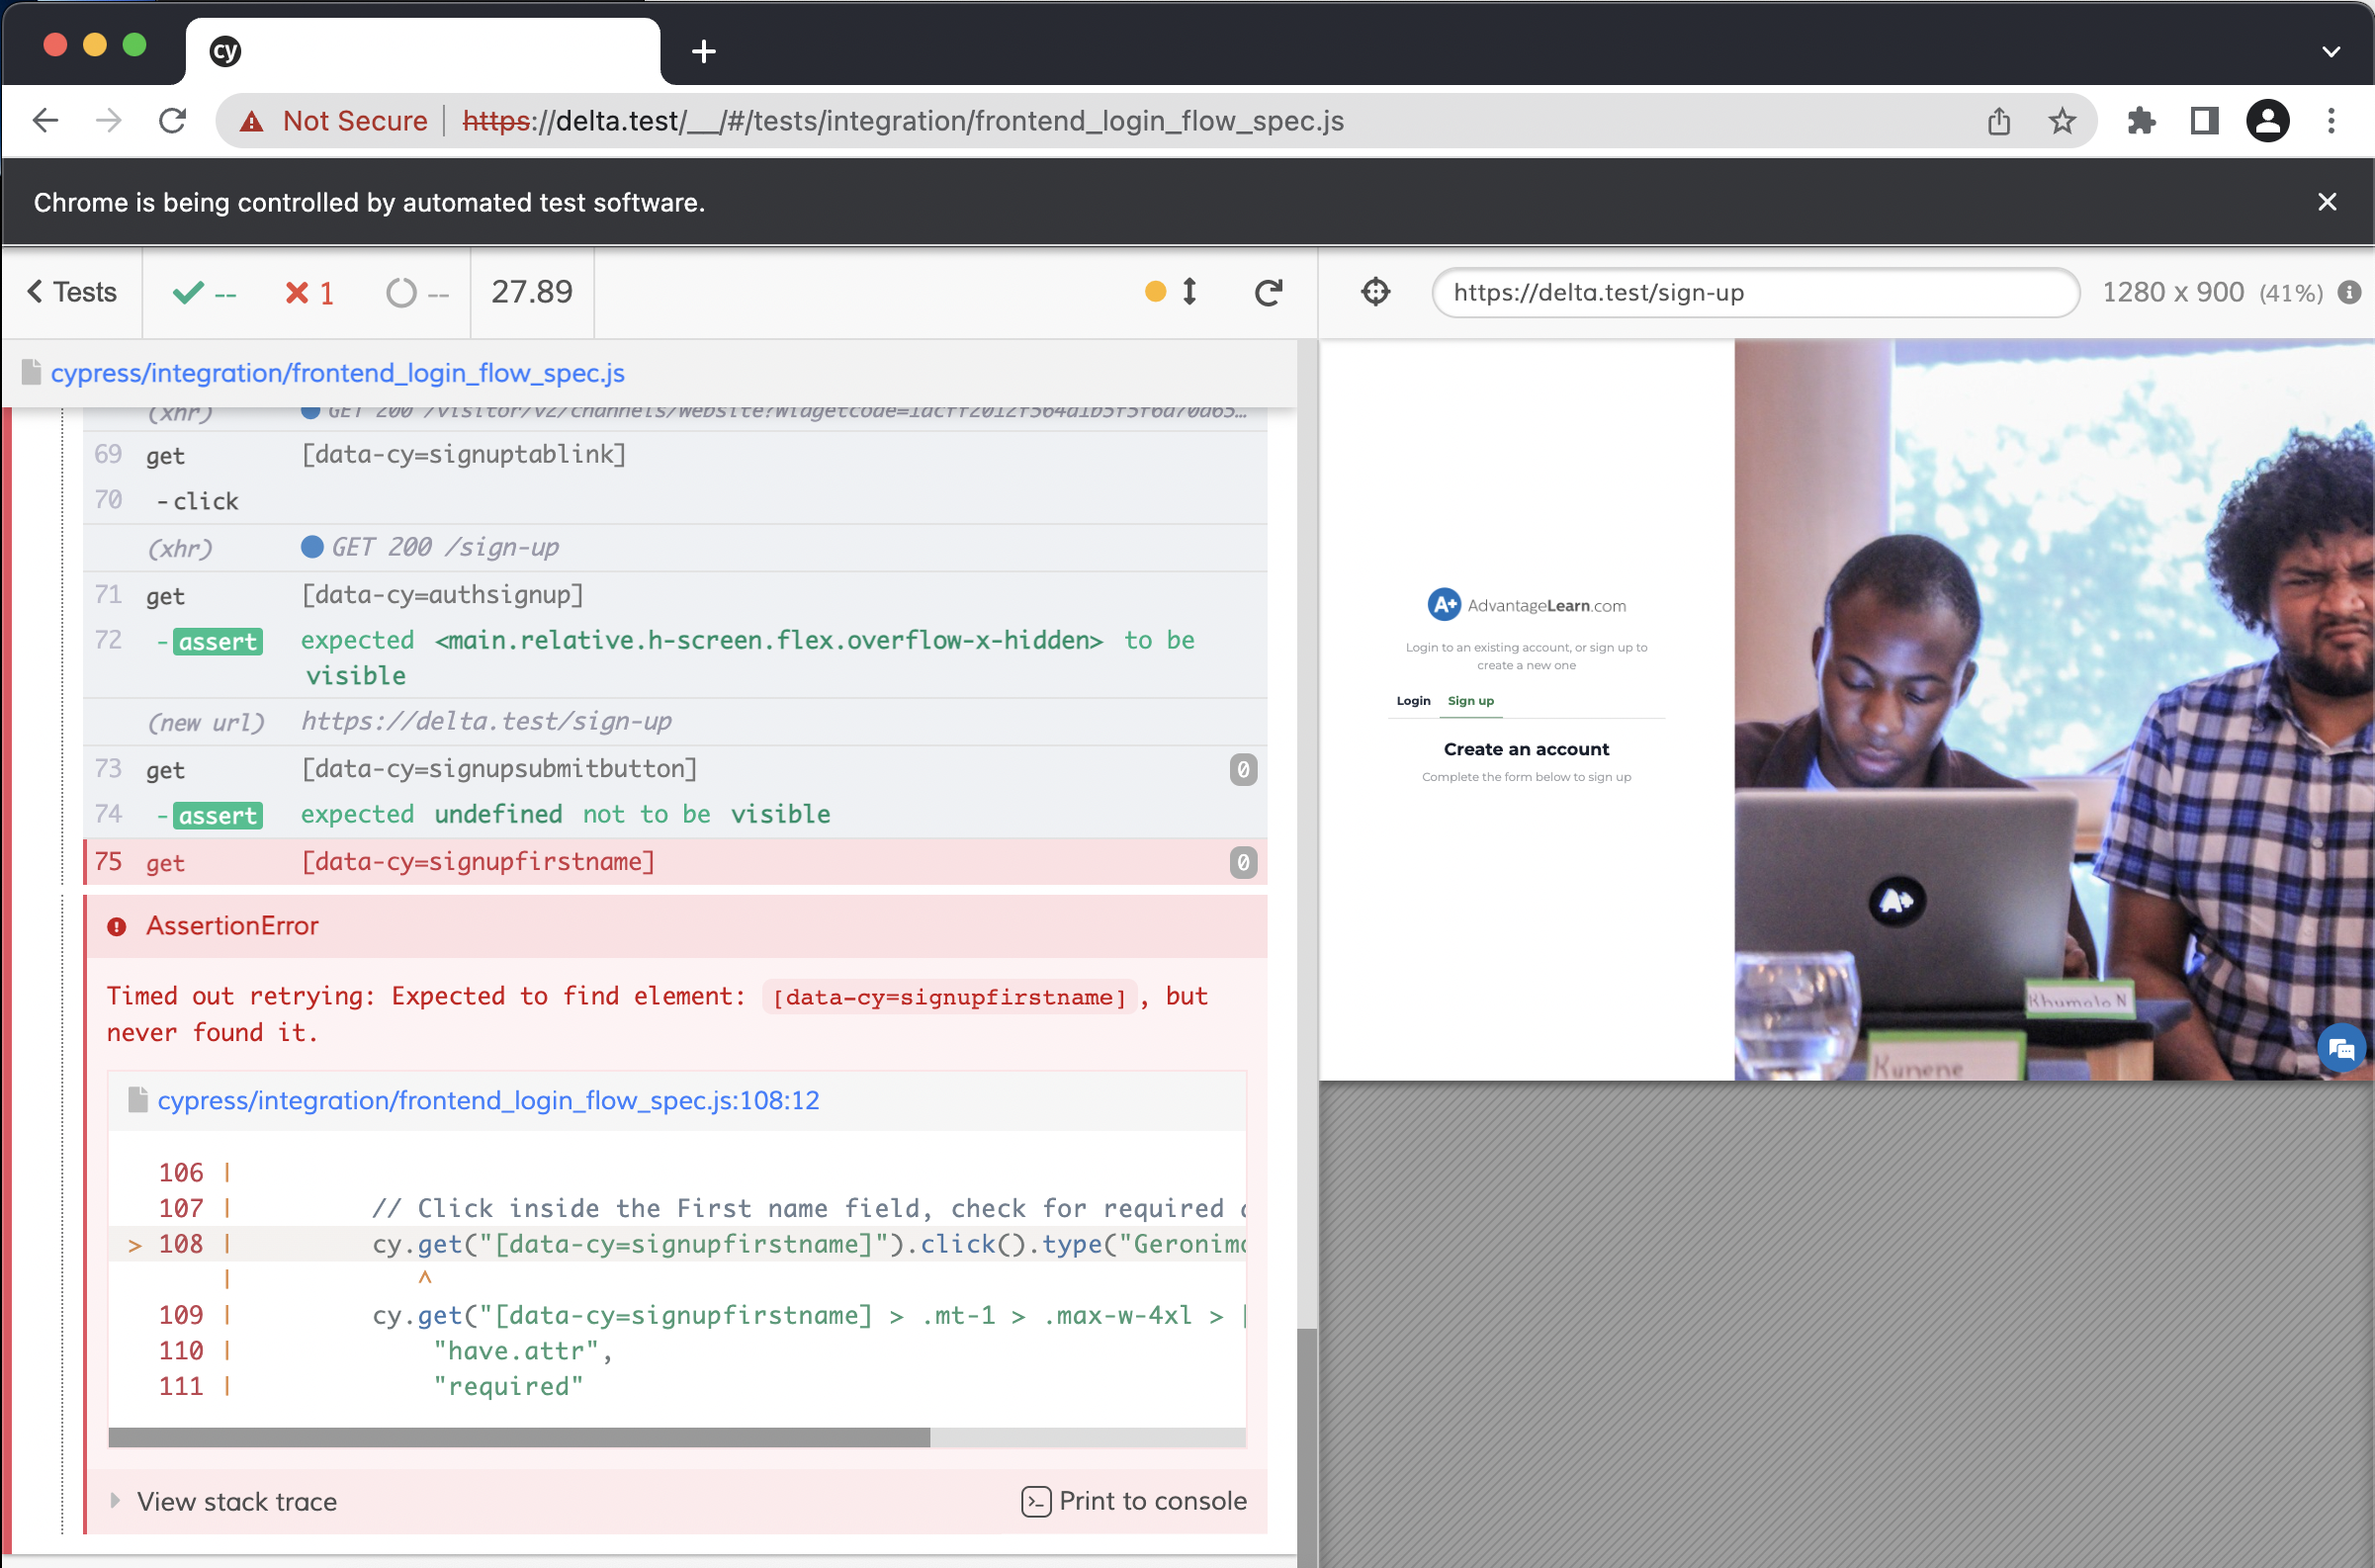
You can then chose the test to run and run it in the browser to watch it:
Option 2: Run cypress in terminal
You can run Cypress in the terminal (no visualisation) using
npx cypress run
For more command line options visit the docs
Set up Cypress in a new project
- Follow the setup guide found at https://github.com/laracasts/cypress.
- Depending on the project's authentication method, you may need to override the provided controller:
php
class CypressController extends LaracastCypressController
{
    /**
     * Override the original login method
     * so that we set the user via the third party
     * library auth method.
     */
    public function login(Request $request)
    {
        $attributes = $request->input('attributes', []);

        $user = User::firstWhere('email', $attributes['email']);

        return tap($user, function ($user) {
            app()->make('thirdPartyLibrary')->login( $user );
        });
    }
}
Ensure a provider is added to app providers to override the laracasts controller.
php
class CypressServiceProvider extends ServiceProvider
{
    /**
     * Re-bind the cypress controller
     * so we can control the login method
     */
    public function register()
    {
        $this->app->bind(
            \Laracasts\Cypress\Controllers\CypressController::class,
            \App\Http\Controllers\Cypress\CypressController::class
        );
    }
}- To ensure that any future CI integrations work, make sure to test with
php artisan serverather than using Valet or similar local environments. It should be as easy as possible to setup Cypress in Github actions or similar, and there should be no dependency on a dev server like Vite:
json
{
    "cypress:test": "npm run prod && cypress open",
    "cypress:serve": "php artisan serve --env=cypress --no-reload"
}